A customer came to me with a tall order. He owned the most basic adult tricycle you could possibly get. Keep in mind that stock, these trikes are driven only by one of the rear wheels (the other wheel just spins freely) and are stopped by a stupid band brake that ONLY works on the driven wheel.

This is the best part. He wanted dual hydraulic disc brakes, one for each rear wheel AND a two wheel drive system for the rear. You must understand that any shop I can think of (and I know a lot of shops) would laugh at this guy and his whimsies but my shop is a place where dreams come true. Others have become professionals at using the words NO, impossible, not worth it, it can’t be done. I just say YES, we have the technology. We can rebuild it.
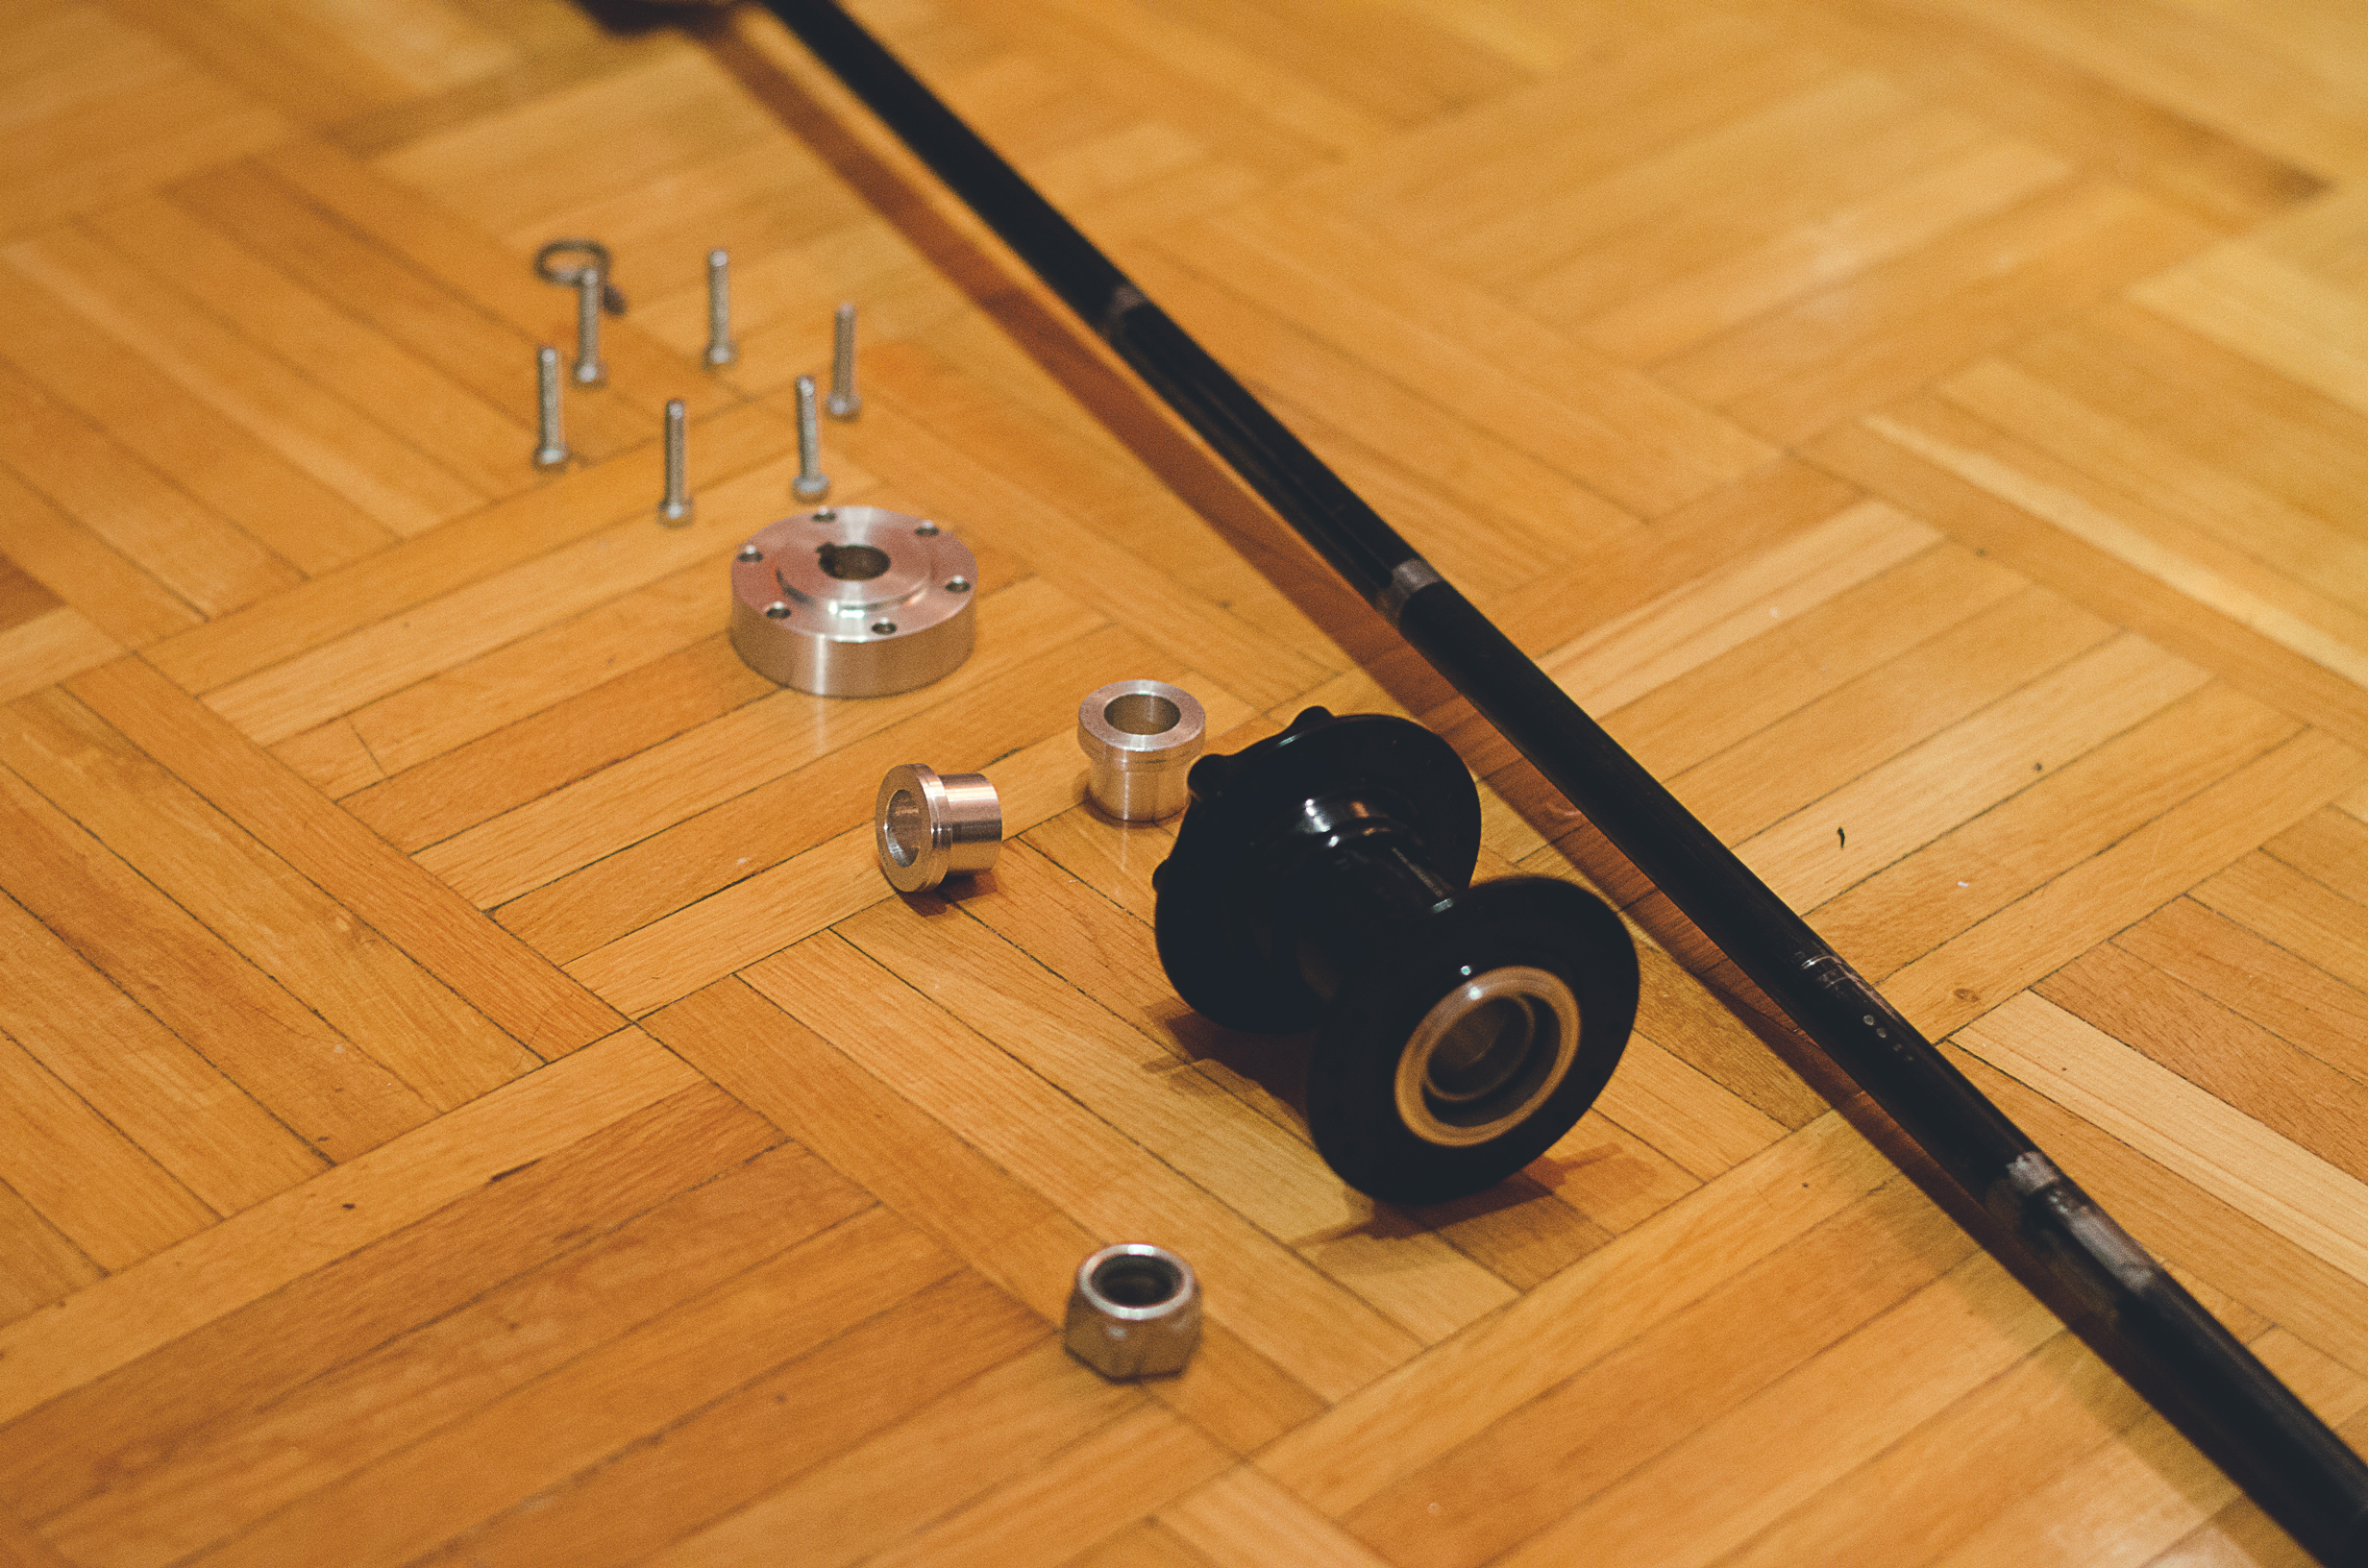
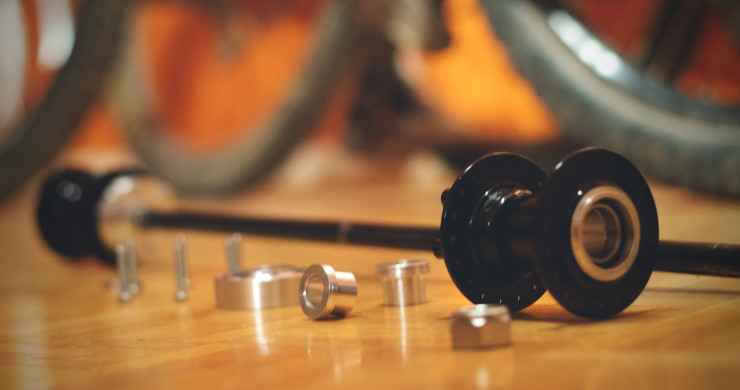
First things first. We needed some basic mountain bike disc hubs. The rear axle happens to be 15mm but I needed to make custom super short profile end caps for the hubs because of extremely limited axle length available on this trike. I avoided the new 15mm hubs and ended up going with 20mm disc hubs for cost reasons and because I needed to make new end caps anyway. Here they are above. What you’ll also see is a custom 6 bolt disc driver with a keyway machined into it. Don’t forget that our boy wanted 2WD in the back. That means that each wheel needed to be directly attached to the axle so that it could be driven. This was the reason for the 6 bolt disc driver. It was the interface between the axle and the hub. The axle was keyed into the disc driver and disc driver was bolted to the 6 bolt pattern of the hub. Very simple. And I had my best Russian weld up some disc tabs to the frame. They were dead straight. Amazing.
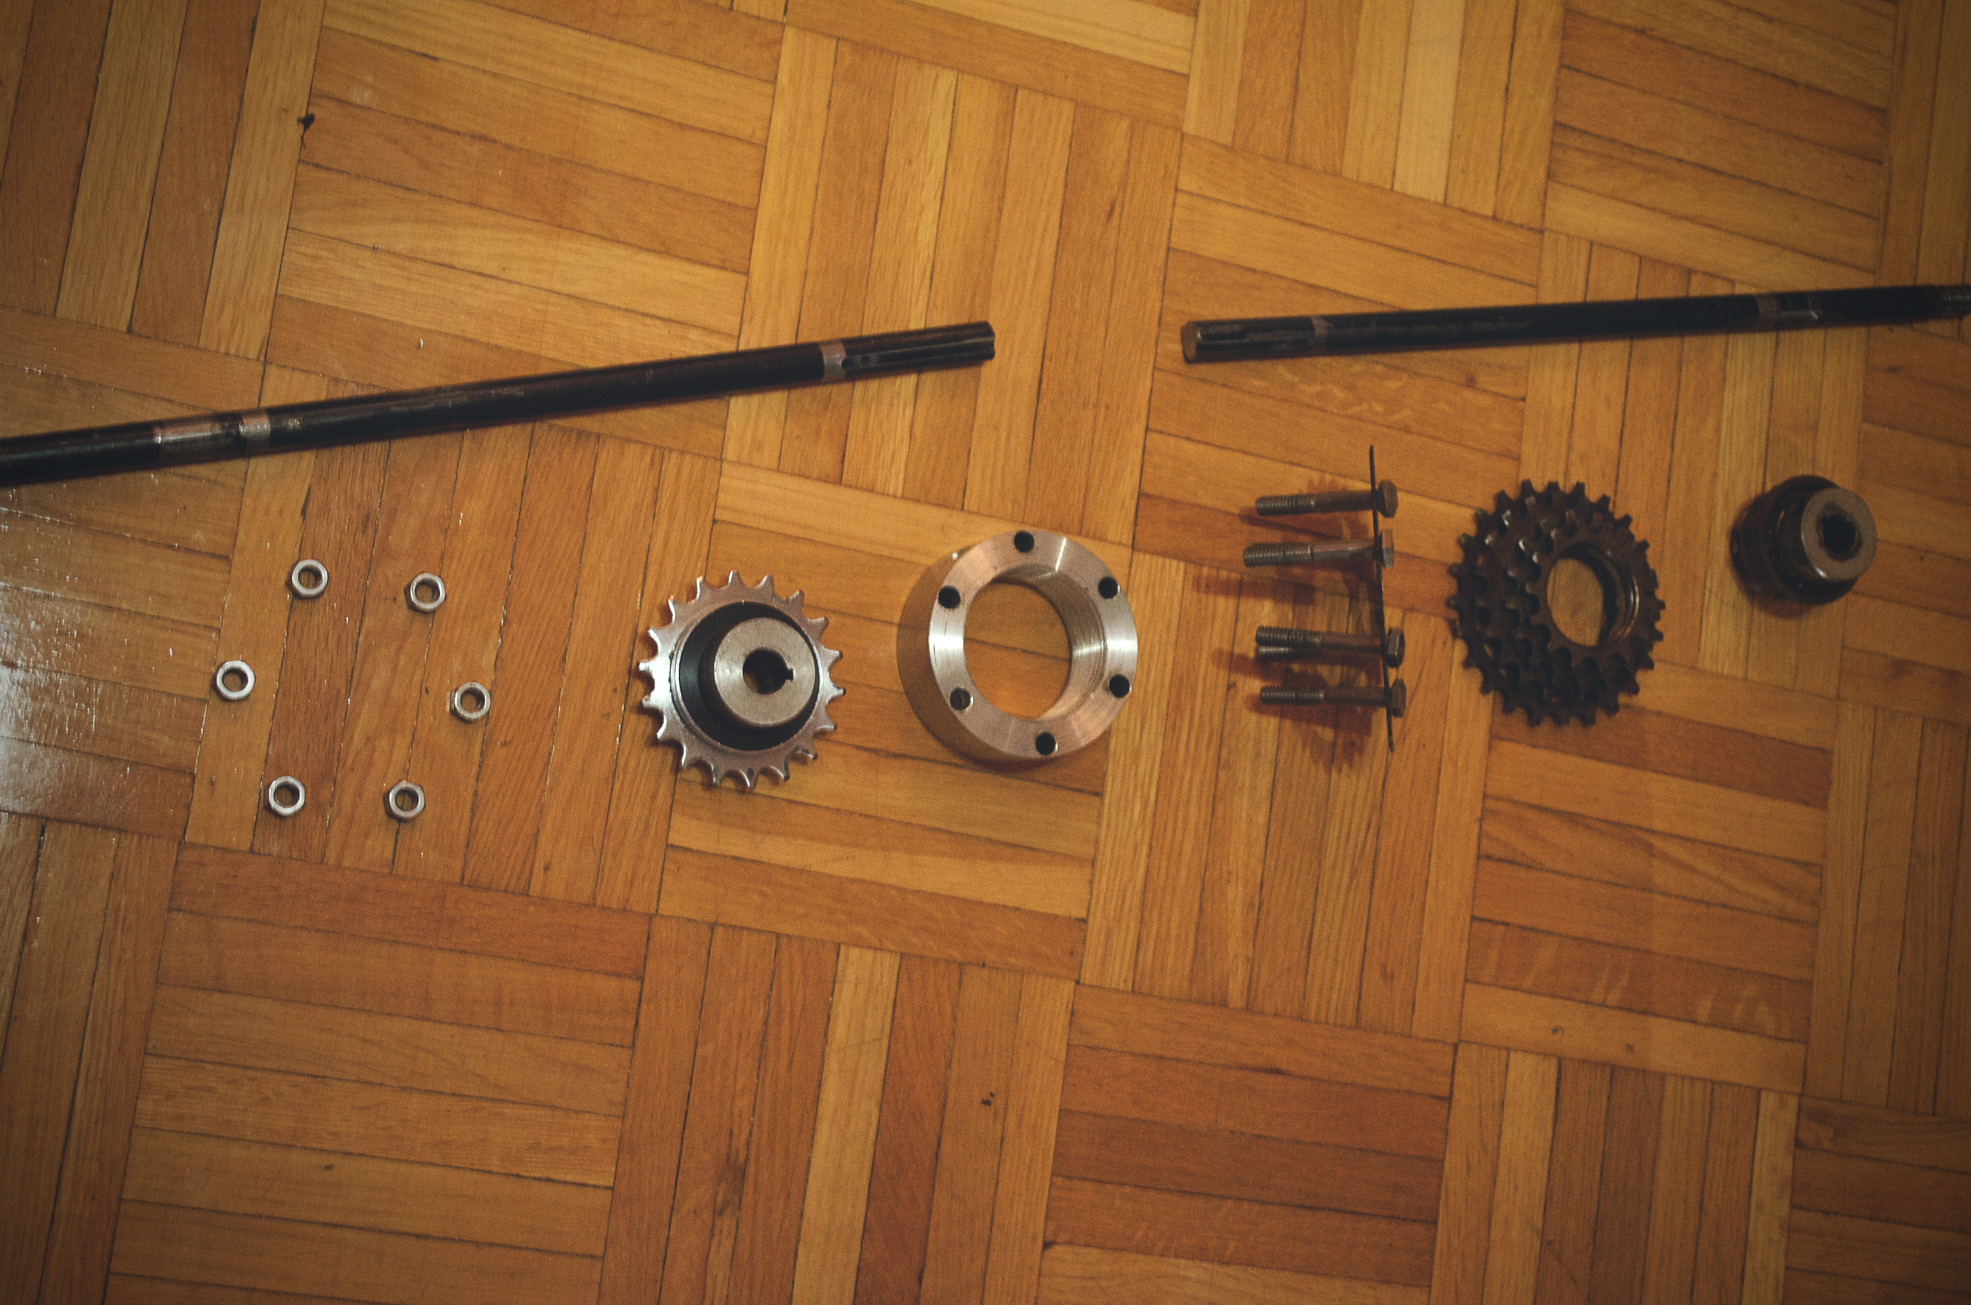
So how did I give this guy the two wheel drive capabilities that he wanted? Anytime a vehicle has two driving wheels, it needs some form of differential. I wanted to use what we had in the shop so I made a ‘double freewheel’ system that bolted together with 6 bolts as you see in the picture above. You see a cassette freewheel as well as a single speed freewheel. They both have ratchets, thus being able to freewheel individually. I had to cut the axle in half and insert each half into a keyway that threads in and secures into each individual freewheel. This way when the trike takes a turn to the left, the right wheel is going to want to spin faster because of being on the larger arc path. The right freewheel will ratchet and allow the right wheel to spin faster. Vice versa for making right turns. The thing that kept the bolts together was a custom sleeve that you can see above with 6 holes in it.

Here you can see the 2WD mechanism bolted together. It becomes clear why I close an 18 tooth freewheel for the left side ratchet. 18 is divisible by 6 which means 6 bolts can fit perfectly between the teeth and attach to the other side, which contains the cassette freewheel. Remember that cassette freewheel sprockets usually have 6 arm spiders, which is why I chose the 6 bolt configuration. The 6 bolts went through the back of the 6 arm spider perfectly.
I wish I had a picture of the completed trike. We chose Avid DB1 Hydaulic Disc brakes for the rear wheels. That’s right, individual lever action controlling each rear wheel independently (for pulling mad G’s in the corners). We built up 26 inch Sun MTX33 Disc rims to those custom disc hubs. Dual Kenda Blue Groove 26 inch by 2.7 inch tires for the rear. 24 inch by 2.5 Kenda Nevegal tire for the front for dragster-like steeze. This machine was able to do burn outs on ice and wheelies with ease.